How to Create an Estimate Template in Excel (7 Steps)
If you want to know how to create an estimate template in Excel, the short version is this: build a reusable sheet where you type quantities and rates, and formulas handle every subtotal, tax line, and grand total for you. Do it once, and every future quote takes minutes instead of an hour of manual math.
I have watched too many trades and freelancers lose money because their “estimate” was a number scribbled on the back of a business card. A proper template fixes that. Below is the exact structure I use, step by step, plus the formulas that make it self-calculating.
Quick answer: To create an estimate template in Excel, set up header fields (business, client, estimate number, date), add an itemized table with columns for description, quantity, unit price, and line total, then use SUM and multiplication formulas for subtotal, tax, and total. Save it as an .xltx template so it stays reusable.
What is an estimate template in Excel, and why build one?
An estimate template in Excel is a pre-built spreadsheet that calculates a job quote automatically once you enter your line items. You fill in the work, quantities, and prices; the formulas do the rest.
The payoff is speed and accuracy. A reusable template means you never rebuild the layout, never forget the tax line, and never send a quote with a math error that eats your margin.
- Faster quoting: reuse the same file for every client.
- Fewer mistakes: formulas beat mental math every time.
- More professional: a clean, itemized estimate builds trust and helps you win the job.
If you would rather skip the build entirely, our done-for-you contractor estimate template is a fill-in-the-blank quote form that outputs an instant PDF. But if you want to own the file and understand it, keep reading.
How to create an estimate template in Excel: the 7 steps
Here is the full build. Follow it in order and you will have a working template in about 30 minutes.
Step 1: Set up your header block
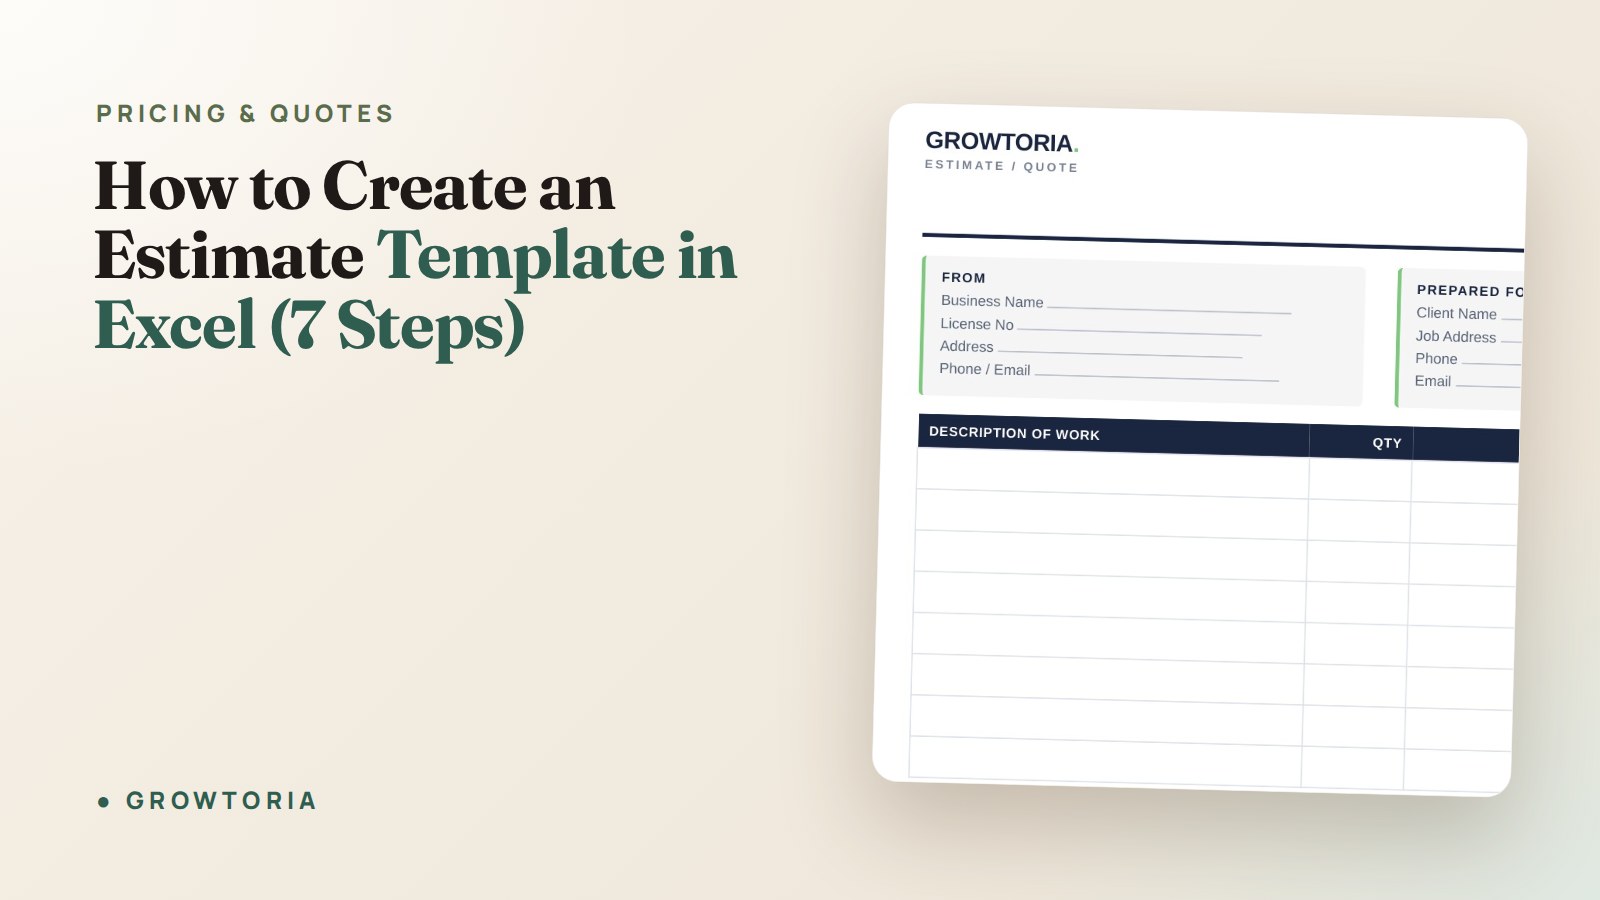
Start with the top of the page—this is your identity and the client’s. In the top rows, add your business name, logo, address, phone, and email. Then add fields for the client’s name and contact details.
Merge cells for a clean title like “ESTIMATE” and give it a larger, bold font. This block never changes much between jobs, so lock it in once.
Step 2: Add estimate number, date, and validity
Every professional quote needs three tracking fields: an estimate number, an issue date, and a “valid until” date. These protect you when material prices move.
A simple numbering system like EST-2026-001 keeps you organized. Add a line such as “This estimate is valid for 30 days” so clients don’t hold you to an old price six months later.
Step 3: Build the itemized line-item table
This is the heart of the template. Create a table with these columns:
- Description — what the item or task is
- Quantity — hours, units, or square footage
- Unit price — your rate per unit
- Line total — quantity × unit price
In the first line-total cell (say D5), enter =B5*C5, then copy it down for 10–15 rows so you always have room to add items. Leave blank rows in—empty cells simply calculate to zero.
Step 4: Add subtotal, tax, and grand total formulas
Below your table, add three summary rows. This is where Excel earns its keep.
- Subtotal:
=SUM(D5:D19)to add every line total. - Tax:
=D20*0.08(swap 0.08 for your local rate), or reference a tax-rate cell so you can change it once. - Grand total:
=D20+D21to combine subtotal and tax.
For the syntax details and more functions, Microsoft’s own overview of formulas in Excel is the authority worth bookmarking.
Step 5: Format the numbers and the layout
Select your price and total columns and apply Currency formatting (Home → Number → Currency). This turns 1250 into $1,250.00 and instantly looks more professional.
Use borders on the table, shade the header row, and bold the grand total. Clean formatting signals that you are organized—which clients read as reliable.
Step 6: Lock formulas and protect the sheet
To stop yourself (or a client) from accidentally deleting a formula, protect the calculated cells. Select the input cells, right-click → Format Cells → Protection, and uncheck “Locked.” Then go to Review → Protect Sheet.
Now only your input cells are editable, and every formula stays safe.
Step 7: Save it as a real Excel template (.xltx)
This is the step most people skip. Go to File → Save As, and choose “Excel Template (*.xltx)” as the file type. Now, every time you open it, Excel creates a fresh copy—so you never overwrite your master.
That single move is what turns a spreadsheet into a genuine, reusable estimate template in Excel.
What columns and fields should a good estimate include?
A strong estimate answers every question a client has before they ask it. At minimum, include the fields below—missing any one of these is the fastest way to a dispute later.
| Section | Fields to include | Why it matters |
|---|---|---|
| Header | Business name, logo, contact, client details | Establishes who is quoting whom |
| Reference | Estimate number, date, valid-until date | Tracking and price protection |
| Line items | Description, quantity, unit price, line total | Transparent, itemized pricing |
| Totals | Subtotal, tax, discounts, grand total | The number the client actually approves |
| Terms | Deposit, payment terms, scope notes | Prevents scope creep and payment delays |
Notice the “Terms” row—that is where you add a deposit line or a note like “50% due to book the job.” It is optional in Excel but essential for cash flow.
How do you price the items in your estimate?
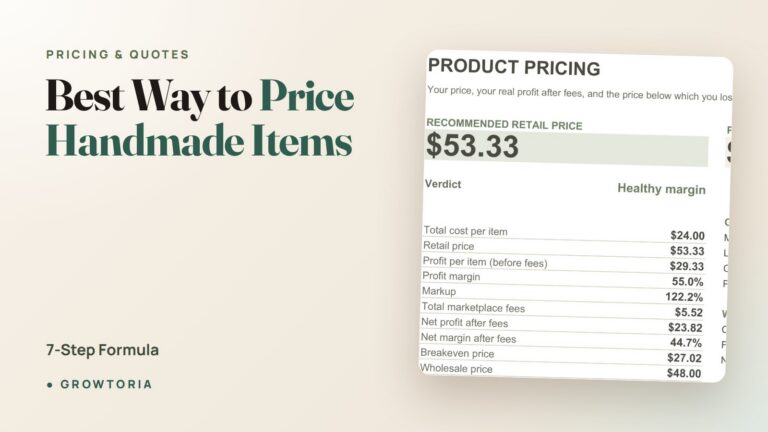
A template does the arithmetic, but you still have to choose the numbers. Price every line to cover your true cost plus a healthy margin—guessing is how tradespeople go broke on a busy schedule.
Two ideas save more money than any formula:
- Know your day rate: your labor line should reflect what an hour of your time truly costs. Our freelance day rate guide walks through the math.
- Use markup, not margin, by mistake: these are not the same number. Read markup vs margin explained before you set a single price.
If you are in the trades specifically, our step-by-step guides on how to price a job as a tradesman and how to price a plumbing job show exactly how to build the numbers behind each line.
Excel template vs. a done-for-you estimate tool
Building your own template is great for learning and full control. But if you send quotes daily, a purpose-built tool saves hours and looks sharper.
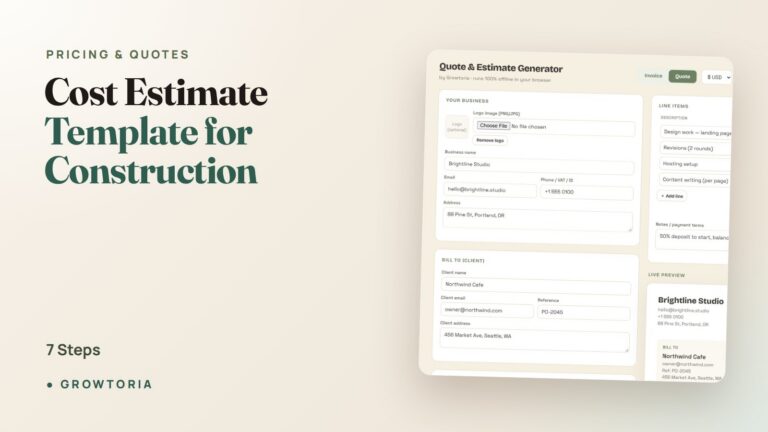
Our Quote & Estimate Generator App creates quotes, adds tax automatically, and turns any quote into an invoice—fully offline, no subscription. You can also grab our templates on our Etsy shop if that’s where you prefer to buy.
Prefer to stay in spreadsheets forever? That’s fine—just protect your formulas and back up your master file. And if you run your whole operation on spreadsheets, our roundup of offline small business software is worth a look.
Free tools to speed up your estimates
Before you send a quote, sanity-check your pricing. A quick pass through a couple of free tools—like a profit margin calculator and a break-even calculator—tells you whether the number in your Excel grand total actually leaves you a profit.
Frequently asked questions
How do I make an estimate template that auto-calculates totals in Excel?
Enter =quantity*unit price in each line-total cell, then use =SUM() to add the line totals into a subtotal. Add a tax formula that multiplies the subtotal by your rate, and a grand-total formula that adds the two. Save the file as .xltx so it stays reusable.
What is the difference between an estimate and a quote?
An estimate is an approximate price that can change as the job’s scope becomes clear; a quote is a fixed price you commit to. Your Excel template can serve as both—just label it clearly and add a “valid until” date to protect yourself from rising costs.
Can I convert my Excel estimate into a PDF to send clients?
Yes. Go to File → Save As (or Export) and choose PDF. This locks the layout so the client can’t edit your numbers and keeps formatting consistent on any device. A PDF also looks far more professional than a raw spreadsheet.
Should I include tax in my estimate?
Almost always, yes—show tax as its own line so the client sees the true total. Reference a single tax-rate cell in your formula so you can update the rate in one place. Rates vary by location, so confirm your local requirement before sending.
How many line items should an estimate have?
Enough to be transparent, but not so many that it overwhelms. For most jobs, 5–15 clear line items covering labor, materials, and any fees is ideal. Build your template with 15 rows and hide or delete the extras per job.
The bottom line
Now you know how to create an estimate template in Excel that calculates itself, protects your margin, and looks professional enough to win work. Build it once with locked formulas, save it as .xltx, and every future quote takes minutes.
If you would rather not build from scratch, start with our ready-made contractor estimate template and be quoting jobs today.