Client Onboarding Checklist for Freelancers: 9 Steps
A dialed-in client onboarding checklist for freelancers is the difference between a smooth kickoff and a project that leaks scope, blows past deadlines, and never gets paid on time. It is the least glamorous system you will ever build, and the one that quietly protects every dollar you earn.
After a signed proposal, most freelancers wing the next two weeks. That gap is where confusion, unpaid deposits, and awkward “wait, that wasn’t in the scope” conversations are born. Let’s fix it with a repeatable flow you can run on autopilot.
Quick answer: A client onboarding checklist for freelancers is a repeatable set of steps you run after a client says yes: send the welcome, sign the contract, collect the deposit, book a kickoff call, gather access and assets, set communication rules, and confirm the first milestone. It prevents scope creep and late payments.
What is client onboarding for freelancers?
Client onboarding is everything that happens between “yes, let’s work together” and your first delivered milestone. It sets expectations, collects what you need to start, and makes the client feel like they hired a professional, not a gig.
Done well, onboarding does three jobs at once. It protects your scope in writing, secures your cash before you spend hours, and builds the trust that turns one project into a retainer or a referral.
Think of it as the operating system for the first two weeks of any engagement. You build it once, then reuse it forever.
Why does a client onboarding checklist for freelancers matter?
Because memory is a terrible business system. When onboarding lives in your head, you forget the deposit invoice, skip the contract, or start work before you have the client’s logo files, and the whole project drifts.
A written checklist gives you four wins:
- No scope creep: deliverables and revision limits are agreed in writing before work starts.
- Faster payment: a deposit clears before you invest real hours.
- Fewer delays: you collect logins, brand assets, and answers up front instead of chasing them mid-project.
- A premium first impression: a smooth start justifies premium rates and earns referrals.
Onboarding is also where you reinforce your pricing. If you have not locked your numbers yet, sort that first with our guide on how to set consulting rates and a free freelance day rate calculator.
The client onboarding checklist for freelancers: 9 steps
Here is the full flow in order. Run every step for every client, even the small ones, because the small projects are exactly where people skip the contract and regret it.
1. Qualify before you say yes
Onboarding starts before the contract. Confirm budget, timeline, decision-maker, and scope fit in a short discovery call so you never onboard a client you should have declined.
Red flags to catch early: no budget range, a “quick favor” that is clearly a full project, or three stakeholders who each want something different.
2. Send a warm welcome and a scope summary
Within 24 hours of a yes, send a welcome email that restates the deliverables, timeline, and price in plain language. This is your written scope of record, so be specific about what is and is not included.
List revision rounds, delivery format, and what you need from them. Ambiguity here is the number one cause of disputes later.
3. Get the contract signed
Never start work on a handshake. A simple contract should cover scope, price, payment schedule, revision limits, kill fees, timeline, and IP ownership.
Use an e-signature tool so it takes minutes, not days. This single step prevents the vast majority of freelance payment disputes.
4. Collect the deposit before you start
Invoice a 30 to 50 percent deposit and wait for it to clear before any real work begins. A deposit filters out non-serious clients and protects your cash flow.
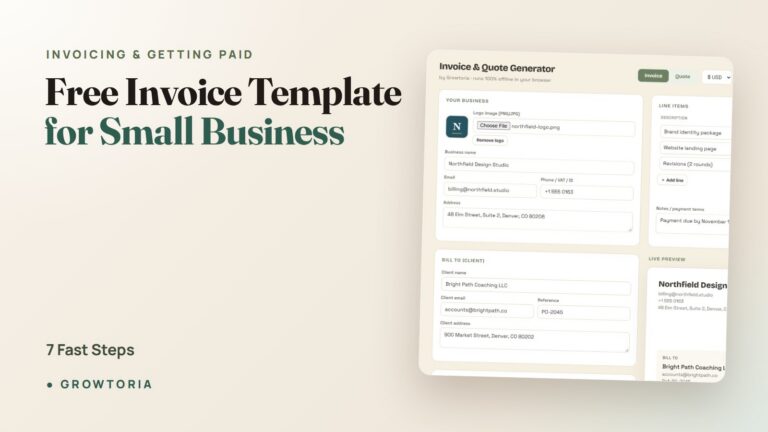
If you need the paperwork side handled, a done-for-you invoice and quote setup keeps this clean. When a payment does slip later, our late payment reminder email templates get you paid without the awkwardness.
5. Send the intake questionnaire
Gather everything you need in one form instead of ten scattered emails. A good intake form collects brand assets, goals, target audience, competitors, tone, examples they love, and hard constraints.
Asking for it all at once respects the client’s time and eliminates mid-project “can you send me…” delays.
6. Collect access and assets
Request logins, files, and accounts through a secure method, and use a password manager rather than plain email. Missing access on day three is one of the most common causes of blown timelines.
Create a shared folder so every asset, from the logo to brand guidelines, lives in one place both of you can reach.
7. Run a kickoff call
Book a 30 to 45 minute kickoff to align on goals, confirm the timeline, and agree on how you will communicate. Send a short agenda in advance so it stays focused.
End every kickoff with recap notes: who does what, by when. This becomes your single source of truth.
8. Set communication rules and the tools
Decide the channel (email, Slack, or a project tool), your response times, and your working hours. Clear boundaries here prevent the slow creep into 24/7 availability.
Track the relationship in one place. A lightweight Notion CRM keeps every client, deadline, and next step visible so nothing falls through the cracks.
9. Confirm the first milestone and deliver
Close onboarding by confirming the first deliverable, its due date, and the review process. Then deliver something small and early to build momentum and trust.
That first on-time deliverable is what converts a nervous new client into a confident, long-term one.
Freelance onboarding timeline: what to send and when
Here is how the nine steps map to a typical first week, with the tool that handles each one.
| Stage | Timing | What you send | Tool that handles it |
|---|---|---|---|
| Qualify | Before yes | Discovery call, fit questions | Call agenda / CRM |
| Welcome + scope | Day 0-1 | Welcome email, scope summary | Welcome packet template |
| Contract | Day 1-2 | Signable agreement | E-signature tool |
| Deposit | Day 2 | Deposit invoice | Invoice generator |
| Intake + access | Day 2-4 | Questionnaire, asset request | Notion intake form |
| Kickoff | Day 4-5 | Agenda, recap notes | CRM / project tracker |
| First milestone | Day 5-7 | Confirmed deliverable | Project tracker |
How do you automate freelance client onboarding?
You automate it by turning the checklist into reusable templates so you are never writing a welcome email or intake form from scratch. Build them once, then duplicate for each new client.
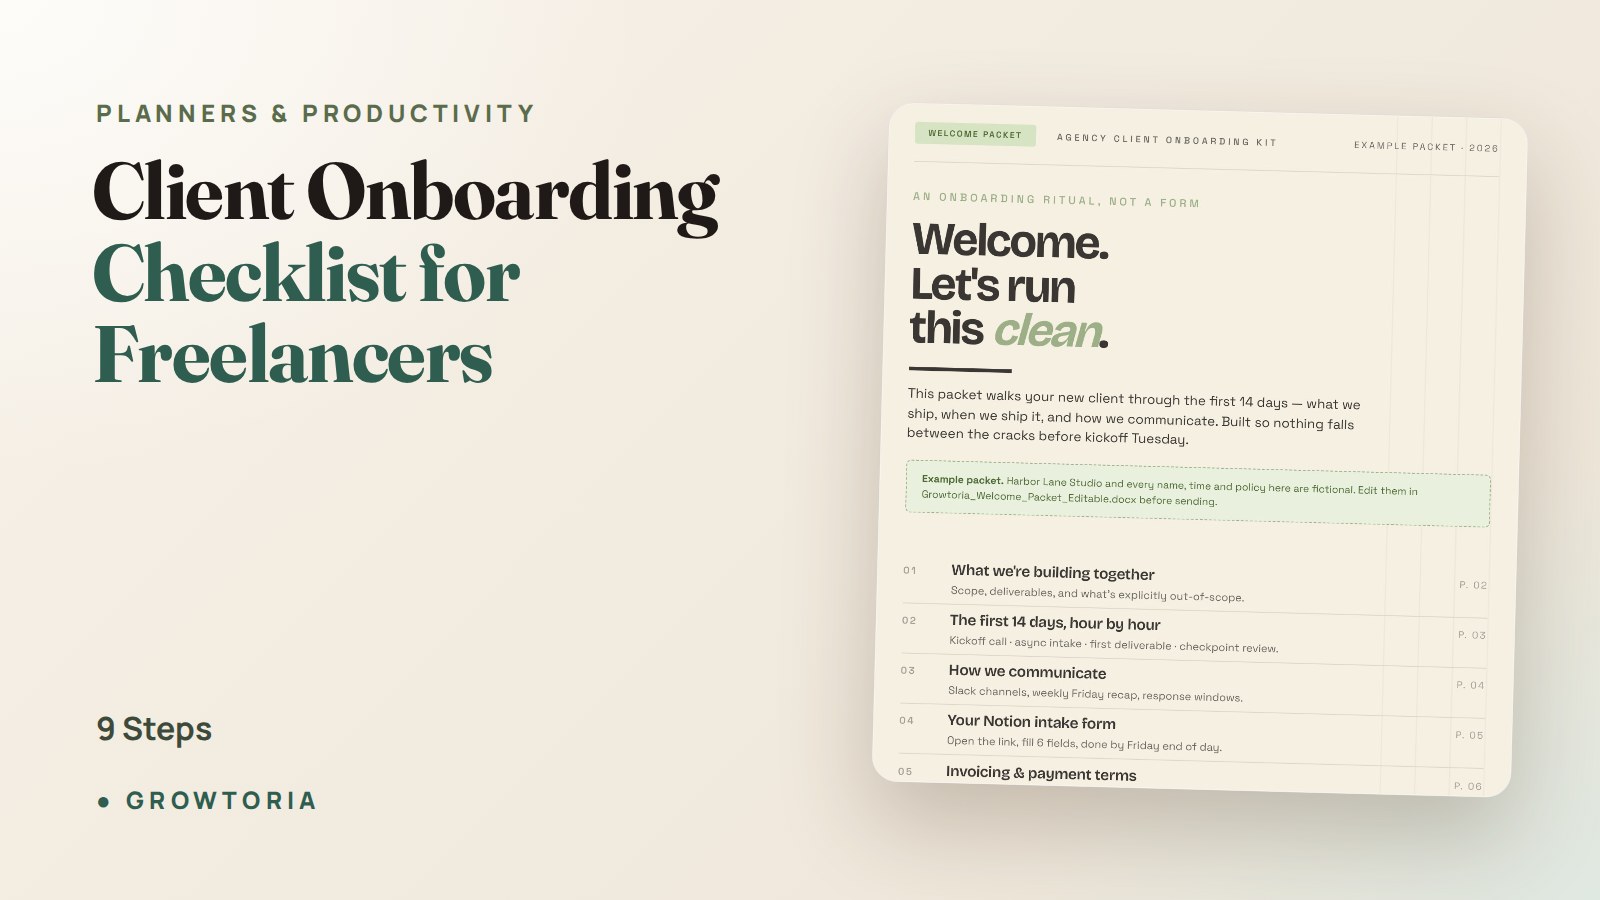
The fastest way is a done-for-you kit. Our Agency Client Onboarding Kit gives you a Notion intake form and a polished welcome packet PDF, so steps 2 and 5 are handled in minutes. If you want the full operating system, the Client Onboarding System runs a 7-stage flow with health scoring and automation hooks that makes every kickoff feel identical and professional.
Prefer to buy on a marketplace? You can also grab our onboarding templates on our Etsy shop. Either way, the goal is the same: stop rebuilding the wheel on every project. For the bigger picture on turning ad-hoc work into repeatable systems, read how to systematize my business.
Common onboarding mistakes freelancers make
Avoid these and you will already be ahead of most freelancers:
- Starting work before the deposit clears. Free labor for a client who ghosts is the classic beginner mistake.
- Skipping the contract on “small” jobs. Small jobs cause the biggest disputes because nothing is in writing.
- Vague scope language. “A few revisions” becomes eight. Name the exact number.
- Collecting assets piecemeal. One intake form beats twenty follow-up emails.
- No communication boundaries. Set response times up front or you will be answering messages at midnight.
One more: forgetting the tax paperwork. If you are hiring subcontractors, collect a completed IRS Form W-9 during onboarding so year-end 1099-NEC filing is painless.
Frequently asked questions
What should be in a freelancer onboarding checklist?
A freelancer onboarding checklist should include a welcome email with a scope summary, a signed contract, a deposit invoice, an intake questionnaire, an access and asset request, a kickoff call, communication rules, and a confirmed first milestone. Run every item for every client.
How long should client onboarding take?
Most freelance onboarding fits inside the first week, roughly five to seven business days. Contract and deposit happen in days one and two, intake and access in days two to four, and the kickoff plus first milestone by the end of the week.
Should freelancers take a deposit before starting?
Yes. Charge a 30 to 50 percent deposit and wait for it to clear before doing real work. A deposit filters out non-serious clients, protects your cash flow, and signals that you run a professional business, not a favor.
What is the first thing to do when you onboard a new client?
Send a welcome email within 24 hours that restates the deliverables, timeline, and price in plain language. It confirms the scope in writing, sets a professional tone, and tells the client exactly what happens next.
Do I need a contract for small freelance jobs?
Absolutely. Small jobs are where disputes happen most because people skip the paperwork. A short contract covering scope, price, payment terms, and revision limits takes minutes to send and protects you no matter the project size.
Build the system once, use it forever
A repeatable client onboarding checklist for freelancers is the highest-leverage system you will ever set up. It protects your scope, secures your cash, and makes you look like the professional you are, on every single project.
Start with the nine steps above, then let a template do the heavy lifting. Grab the Client Onboarding System to run every kickoff on rails, or browse more freelance tools on our Etsy shop. Your future self, and your bank account, will thank you.