Client Onboarding Process Flow Chart Template
A client onboarding process flow chart template is a visual map of every step a new client moves through — from signed contract to first win — with the owner, the trigger and the tool for each stage spelled out. It turns a scramble of emails into a repeatable system you can run the same way every time, even when you’re busy.
If you’ve ever lost the first two weeks of a project to “waiting on the client” or hunting for a logo in your inbox, this is the fix. Below is the exact flow I use, the stages to put in your diagram, and a ready table you can copy today. For the written version of these stages, pair this with our guide to the client onboarding process steps that convert.
Quick answer: A client onboarding process flow chart template maps onboarding as a left-to-right diagram with swimlanes for you and the client. Core stages are Sign & Pay, Welcome, Intake, Kickoff, Access & Setup, First Deliverable, and Check-in. Each box shows one action, one owner and one tool, so nothing stalls.
What is a client onboarding process flow chart template?
It’s a diagram that shows the sequence of onboarding steps as connected boxes, so you can see the whole handoff at a glance instead of holding it in your head. A good template already has the stages, decision points and owners filled in — you just swap in your tools.
Three things separate a working flow chart from a pretty picture:
- Swimlanes — one horizontal row for your actions, one for the client’s. This instantly shows who is blocking progress.
- One action per box — “Send welcome email,” not “Onboard client.” Vague boxes are where projects die.
- Decision diamonds — e.g. “Deposit paid? Yes → continue / No → send reminder.” These stop you starting work before you’re paid.
Standard flowchart shapes (rectangle = action, diamond = decision, oval = start/end) are worth learning once. The Lucidchart guide to flowchart symbols is a clear, free reference.
Why do you need a client onboarding flow chart at all?
Because the first impression sets the tone for the entire relationship — and a messy kickoff quietly costs you money. Onboarding is where clients decide whether they trust you, and where refund requests and ghosting begin.
Acquiring a new client is far more expensive than keeping one — Harvard Business Review has long reported that acquiring a customer can cost 5 to 25 times more than retaining an existing one. A flow chart protects that investment by making the start of every engagement consistent.
A documented flow also lets you delegate. The day you hire a VA or a junior, you hand them the diagram instead of explaining it ten times. That’s the same logic behind writing a standard operating procedure template for the rest of your business.
The 7 stages to put in your client onboarding process flow chart template
Here are the seven stages that belong in almost every service-business flow, in order. Add decision diamonds between them wherever a step can’t start until something is confirmed.
1. Sign & Pay
The flow starts the moment the proposal is accepted. Box one: send contract. Box two: send deposit invoice. Add a decision diamond — deposit received? — and don’t let the diagram advance until it’s a yes.
2. Welcome
An automatic welcome email or packet the instant payment clears. Tell the client what happens next, who their point of contact is, and when. This one email kills most “what’s going on?” messages.
3. Intake
Send a single intake form that collects everything at once: brand assets, logins, goals, examples they like. One form beats fourteen back-and-forth emails. This is the box most freelancers skip and regret.
4. Kickoff call
A short, scheduled call to confirm scope, timeline and the definition of “done.” Put a calendar-booking link in this box so the client self-schedules instead of trading times with you.
5. Access & Setup
Collect logins, add the client to your project tool, set up folders. Use a decision diamond here too — all access received? — because you can’t start without it.
6. First deliverable
Ship one small, visible win early. A quick draft, a dashboard, a first design. Early momentum is what converts a nervous new client into a confident one.
7. Check-in & handoff to delivery
A 15-minute check-in closes onboarding and opens the normal delivery rhythm. This oval is the “end” of your onboarding flow — everything after it is business as usual.
Copy this client onboarding flow chart template
Here’s the whole flow as a table you can rebuild in any flowchart tool, Notion, or even on paper. Each row is one box in your diagram.
| Stage | Action (box) | Owner (swimlane) | Trigger | Tool |
|---|---|---|---|---|
| 1. Sign & Pay | Send contract + deposit invoice | You | Proposal accepted | E-sign + invoice app |
| 2. Welcome | Send welcome packet | You (auto) | Deposit paid | Email / PDF |
| 3. Intake | Complete intake form | Client | Welcome received | Form / Notion |
| 4. Kickoff | Book & run kickoff call | Both | Intake submitted | Calendar link |
| 5. Access & Setup | Grant logins, add to tracker | Client → You | After kickoff | Project tool |
| 6. First deliverable | Ship early win | You | Access complete | Your workspace |
| 7. Check-in | Review + move to delivery | Both | Deliverable sent | Call + notes |
Build it left to right, put your rows in the top swimlane and the client’s in the bottom, and add reminder loops wherever a client box can stall.
The fastest way: use a done-for-you onboarding system
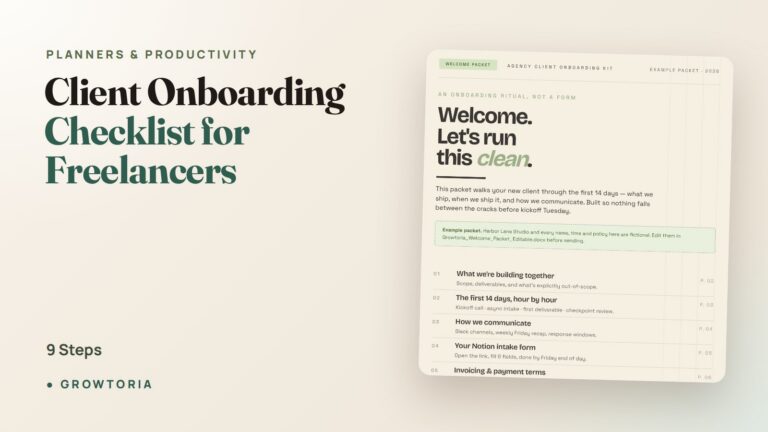
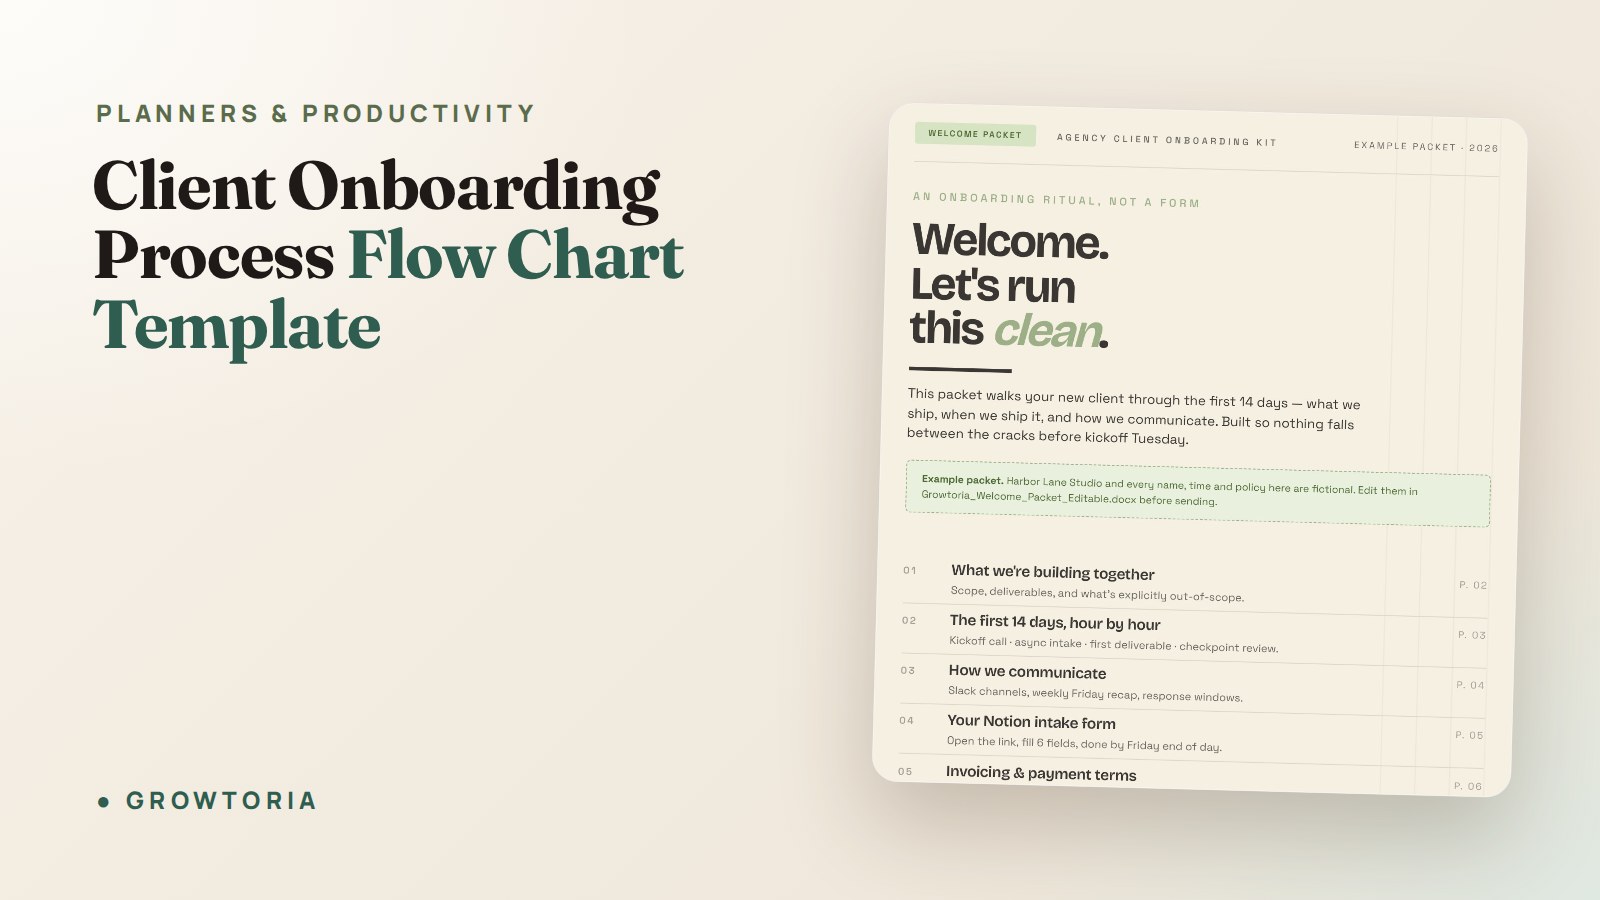
Drawing the chart is step one; running it every week is the hard part. If you’d rather skip the blank canvas, our Agency Client Onboarding Kit gives you the Notion intake form and a client-ready welcome packet PDF that slot straight into stages 2 and 3 above.
For teams that want the full operating system — a 7-stage pipeline with health scoring and automation hooks — the C4 Client Onboarding System turns this flow chart into a live workspace. Prefer to buy from a marketplace? You can also grab our templates on our Etsy shop.
Which tool should you build your flow chart in?
Any tool that supports boxes and arrows works — the diagram matters more than the software. For a living system that runs the process (not just pictures it), a Notion-based template wins because each box can hold the actual form, checklist or file.
- Whiteboard or paper — perfect for the first draft. Free and fast.
- Lucidchart / Miro — great for a polished diagram to share with a team.
- Notion — best for actually running onboarding, because the chart and the work live in the same place.
Whatever you choose, keep a copy of the free templates in our free tools hub as a starting point.
Frequently asked questions
What should a client onboarding process flow chart template include?
At minimum: a start oval, one box per action, decision diamonds for “paid?” and “access received?”, two swimlanes (you and the client), and an end point that hands off to normal delivery. Label each box with an owner and a tool so nothing is ambiguous.
How many steps should client onboarding have?
Five to eight stages is the sweet spot for most freelancers and small agencies. Fewer and you miss critical handoffs like intake or payment confirmation; more and clients feel buried in process. The seven-stage flow above fits almost any service business.
What’s the difference between an onboarding flow chart and an SOP?
A flow chart shows the sequence visually — the big picture of who does what, when. An SOP is the written detail behind each box (exact wording, settings, screenshots). Use them together: the chart for orientation, the SOP for execution.
How do I stop clients from stalling the onboarding flow?
Automate the handoffs. Trigger the welcome email on payment, use a self-booking link for the kickoff, and set a reminder loop on any box the client owns (intake form, logins). The diagram should make it obvious the instant a client step is overdue.
Can I use one template for every client?
Yes — that’s the point. Keep one master flow chart and only tweak the deliverable stages per service. Standardizing the first and last stages (sign, welcome, intake, check-in) is where the real time savings come from.
Your next step
Open a blank canvas, rebuild the seven-row table above as boxes with swimlanes, and add two decision diamonds for payment and access. That single diagram will save you hours on every new project.
When you’re ready to run it on autopilot, start with the Agency Client Onboarding Kit and layer in the written onboarding process steps so every client gets the same confident start.